 English
 German
 Dutch
Dutch Thai
Thai Chinese
There is nothing perfect in this world. That’s true, not even us. We might be the world’s #1 non-logging VPN provider. Yet, we can’t lie that our service is not 100% free from future issues. For this, we must remind you of possible issues. First and foremost, DNS leak.
What is DNS leak?
DNS or Domain Name System is a ‘translation’ technology, if we might call it. It is used to translate web IPs to URLs. As you can see, all webpages come with unique IP. For example, VPN Asia is registered with 174.127.88.77. That’s our IP. So, whether you enter our URL https://vpn.asia or our IP, your browser will lead you to the same page: VPN Asia. The problem is, how many of us who remember numbers better than words? Only a few. That’s why we need DNS. It translates IP into URLS. Simply put, it makes webpages easier to remember. Without DNS, you need to put the numbers whenever you want to visit a webpage.
Now, let’s talk about something more interesting: DNS leak.
There are two ways to connect to the internet: ISP and encrypted connection. In standard ISP connection, your computer will use DNS servers from your ISP. It means all data transmissions will go through these servers.
At the other side, we have encrypted connection. This one offers more secure way to access the web. It involves with advanced security protocol we know as VPN. Unlike standard ISP connection, Virtual Private connection uses different DNS servers than your ISP. With these servers, VPN try to offer a more private way for your security.
Typically, both connections will secure your access. However, sometimes we can’t predict the flaws. That concern grows bigger if your PC runs on Windows. This OS is so fragile when it comes to DNS leak. Your PC can mistakenly choose a DNS server, thus revealing your true IP online. This is what we call as DNS leak.
DNS Leak: How to Detect it
- Head to DNS Leak Test
- Click “Standard Test” or “Extended Test”
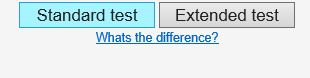 Click Standard or Extended Test to begin your DNS Leak test
 - Once the result appeared, check the IP numbers. If any result showed your ‘real’ location, then perhaps you have a DNS leak. This also applies if the result showed your ISP location.
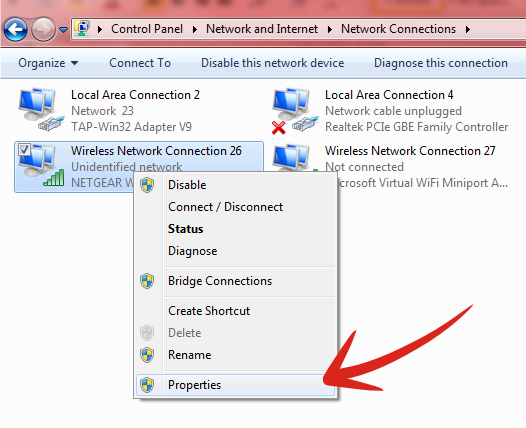
2. Choose Change Adapter Settings

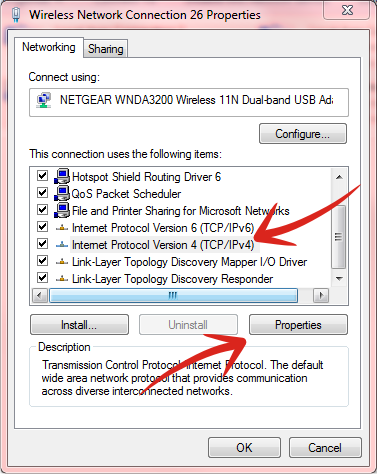
4. Scroll down the list until you see “Internet Protocol Version 4 (TCP/IPv4)”. Highlight this connection. Then, click on Properties.

Please contact us if you want to use our DNS server address. Alternatively, you can also use the following open public DNS:
Google Public DNS
- 8.8.8.8 or 8.8.4.4
Open DNS
- 208.67.222.222 or 208.67.222.220
Conclusion
VPN is your safest bet to stay anonymous on the web. Yet, the technology is still not perfect. There are some incidents when DNS leak occurs. Unless you want something like that to happen, we strongly recommend to double your guard. Spend a few minutes to check any potential areas where your connection may be compromised.