 English
 German
 Dutch
Dutch Thai
Thai Chinese
Am I wrong to say the internet is a vast ocean of information? We can find everything on the web. As long as you can name it, I am pretty sure the web has it. The only problem is sometimes we don’t have access to the content. There are ‘restricted’ content. These contents require people to have certain ‘clearance’ before accessing the content. Some people do have the access, but what about other people? Should they just leave? Well, apparently not. Even if you don’t have access to these contents, you may still can access the content. How are you going to do that? VPN Asia Windows.
VPN Asia Windows?
Yep, that’s right. VPN Asia Windows is the desktop version of VPN Asia. With this, you don’t need Android or Apple device to unblock restricted contents. All you need is your PC, browser, internet connection, and VPN Asia account. What if your PC doesn’t run on Windows? Don’t worry, it still works perfectly on Mac.
Let me show you how to use VPN Asia Windows.
1. Open your browser and visit VPN Asia official website.
2. Choose “Sign Up” at the upper right corner of the page

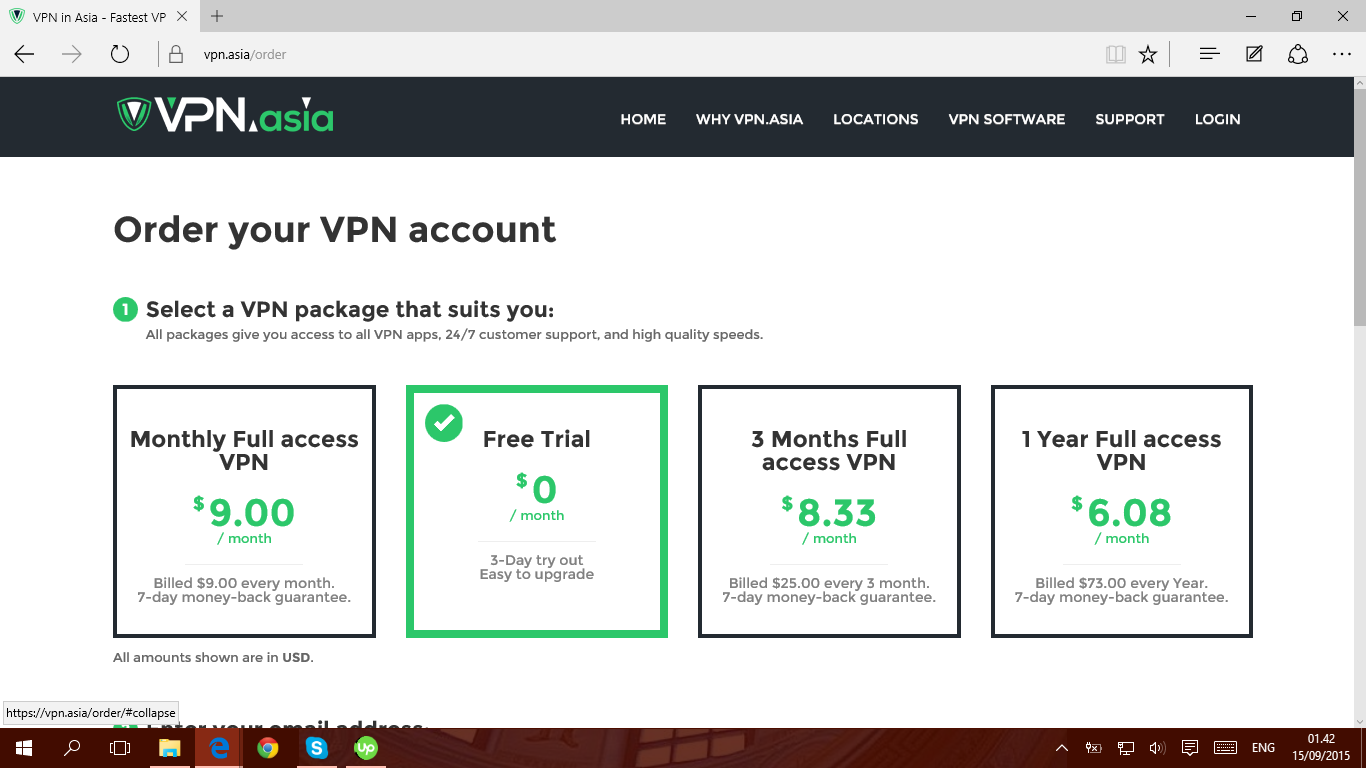
3. You will be redirected to a new page. At this page, please choose your Subscription plan. Currently, we offer 4 plans for VPN Asia Windows:
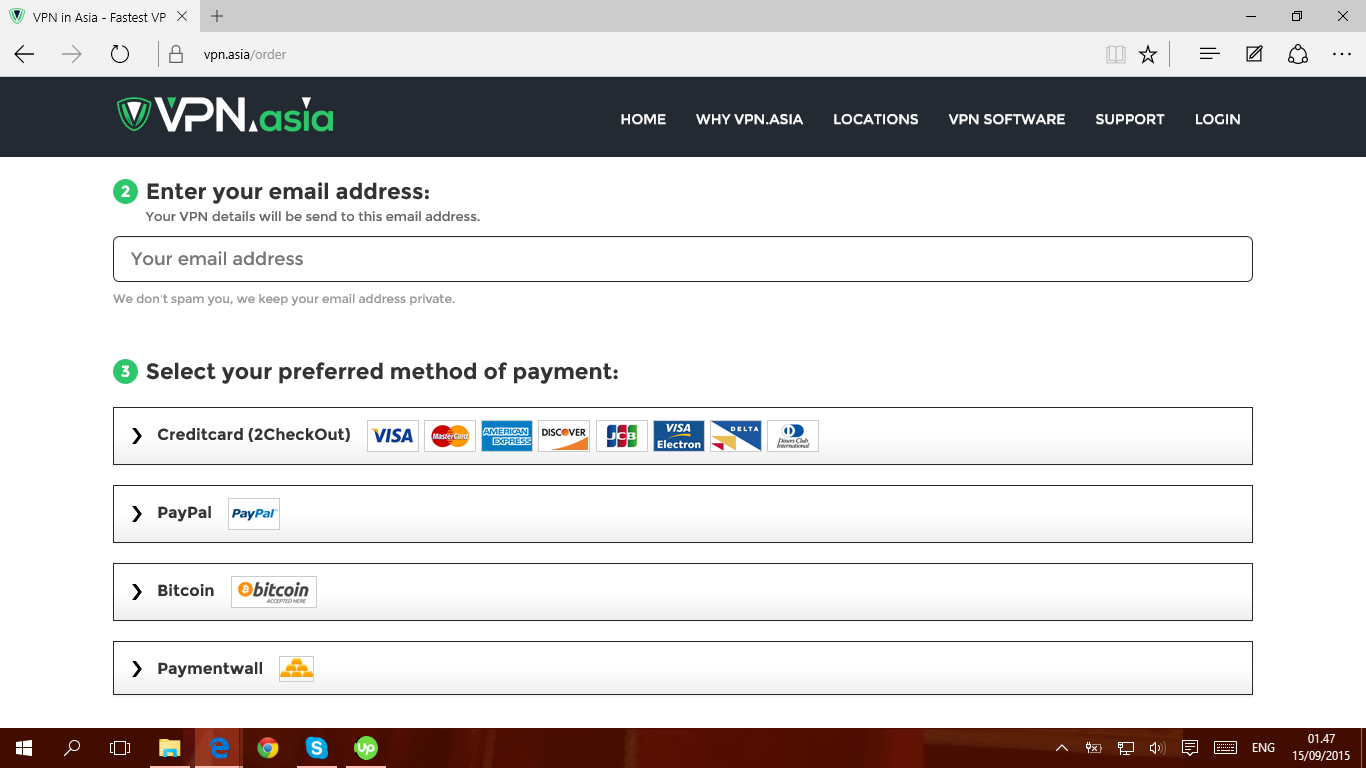
Next, please provide your information details, including e-mail address and preferred payment method. We will send confirmation and activation code to your email. Therefore, please make sure your email is active.
As for the payment method, we accept Visa, MasterCard, American Express, Discover, JCB, Visa Electron, Delta, Diners Club International, PayPal, BitCoin, and PaymentWall. Once you choose a payment method, a drop-down menu will appear. Please enter your promotional code (if any) at the box before clicking the “Proceed to (preferred payment method)” button.
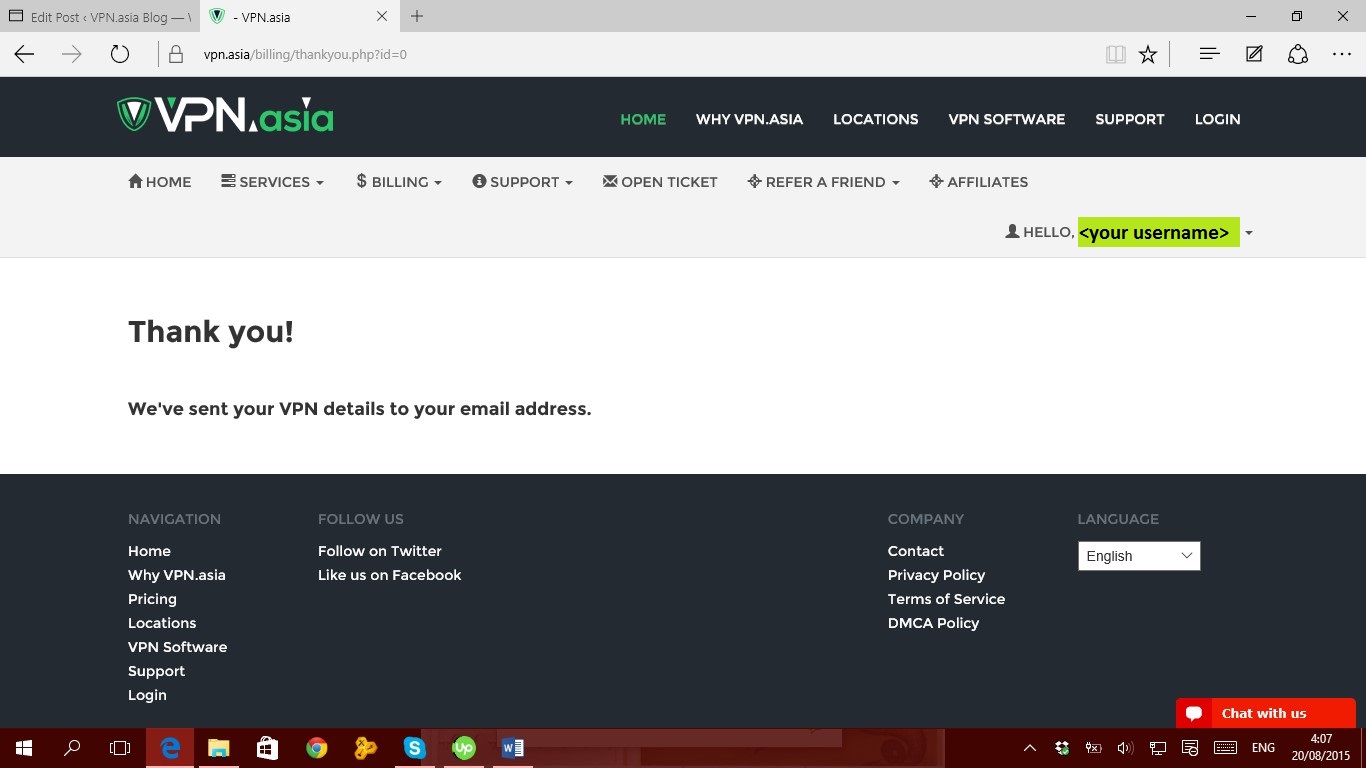
4. Wait for a few seconds until the following display appears.
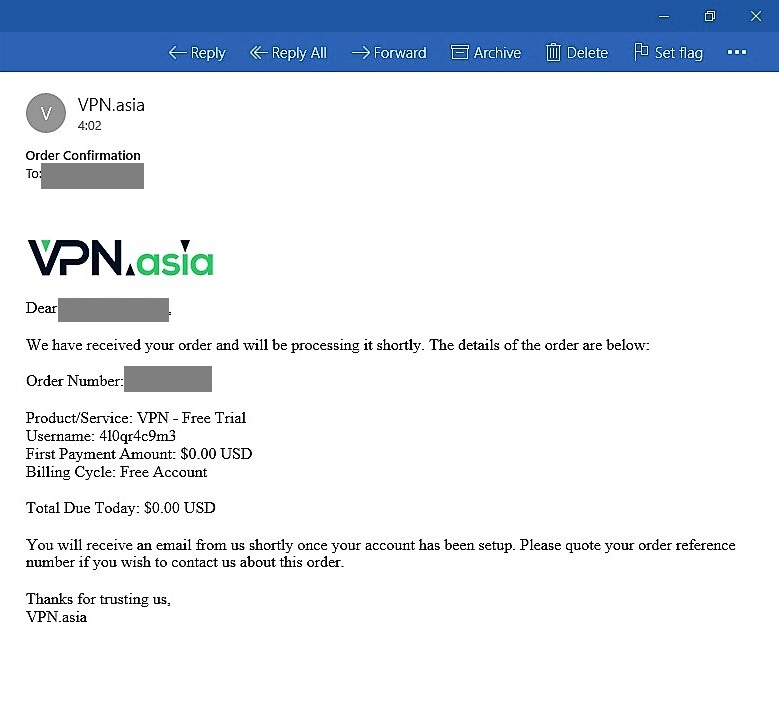
The second email contains your Subscription Plan review, your VPN Asia account username, and password, as you can see from the image below. These are important details before you can connect to VPN.
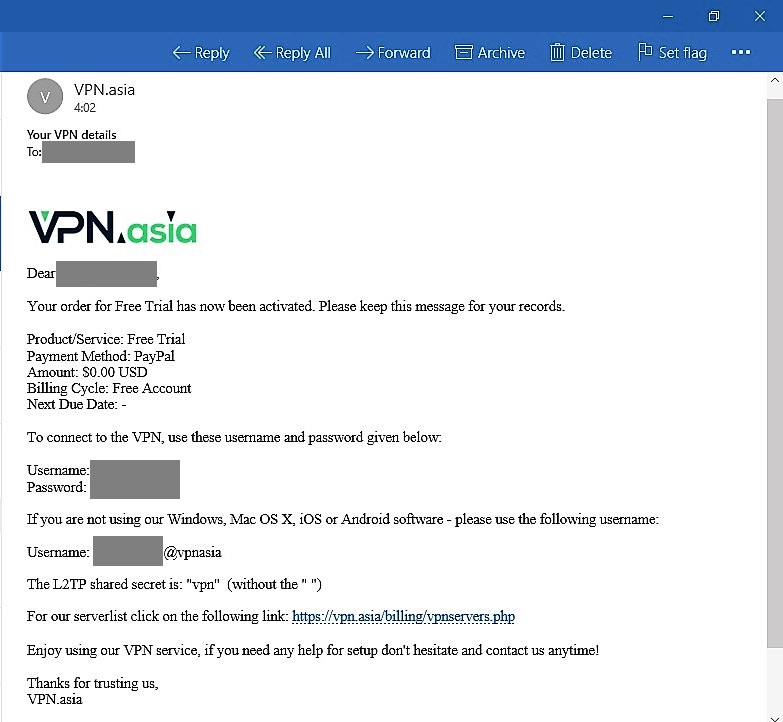
The third email is your final confirmation. Once you received the following email, you are one step closer to connect to VPN.

Now, let me show you how to connect to VPN using our VPN Asia.
VPN Asia Windows Manual Setup
Windows 7
- Press Windows key and search for “VPN.” Press “Enter”
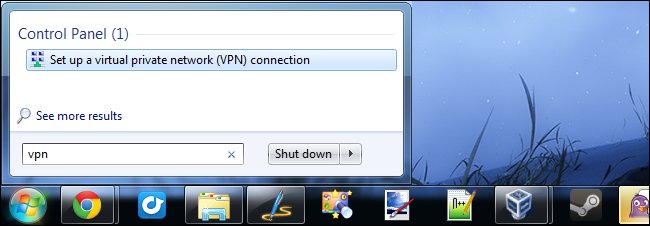 Open “Windows Search” and type “VPN”
 - Provide details on which VPN Asia server you want to use. It can be either an URL address or IP address. Enter the address of your VPN provider in the Internet Address box. You can find our server list here.Please also provide the VPN “Destination” name. There is no rule for this. So, you can put anything you like, but try to keep it simple. It will be easy to remember.
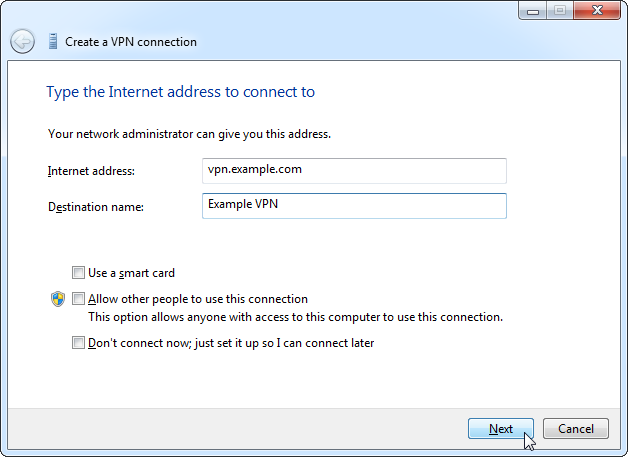 Provide your VPN details
 - Next, please provide your login credentials. We send all information you need to manually setup your VPN Asia Windows to your email.
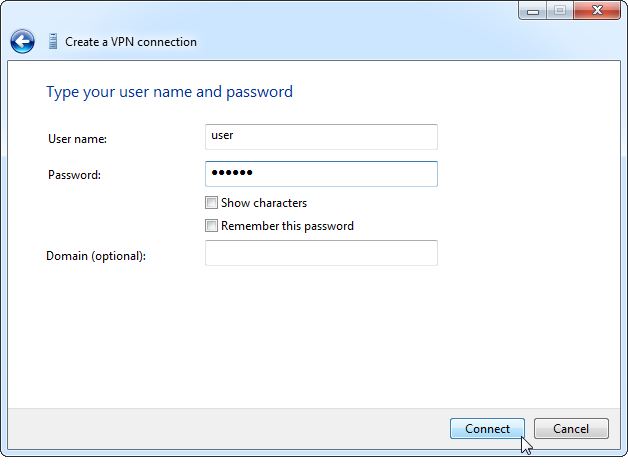 Provide your VPN Asia login credentials
 - Now, Windows will try to connect you to our server. Please remember that if you chose the “Don’t connect now” option, Windows will save your VPN connection. This way, you can easily connect to our server later.
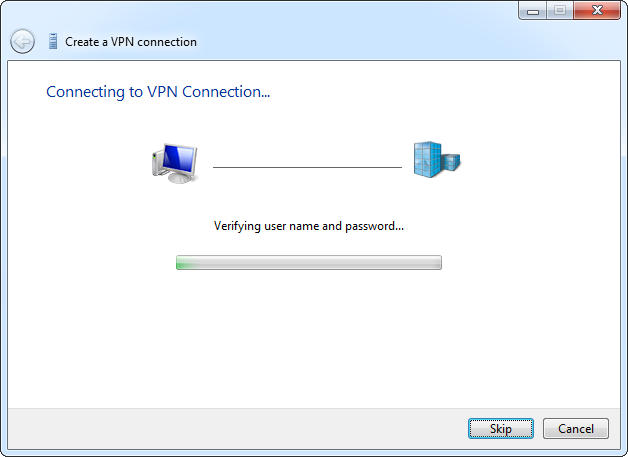 Windows trying to connect to our server
 - Once connected, your VPN connection should be visible in your network information. Head towards your system tray, choose the network icon, and view your active VPN connection. Please remember that all data transmissions will be sent and received through VPN while it’s still active. To end your VPN connection, click the active VPN and choose Disconnect. You can easily reconnect to your existing VPN by choosing Connect.
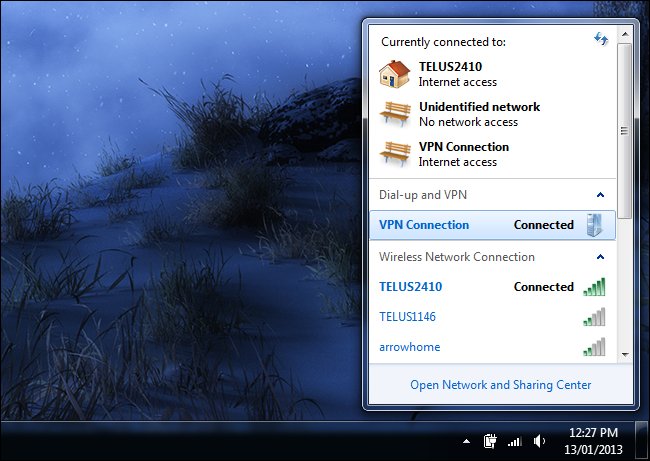 View your active VPN connection
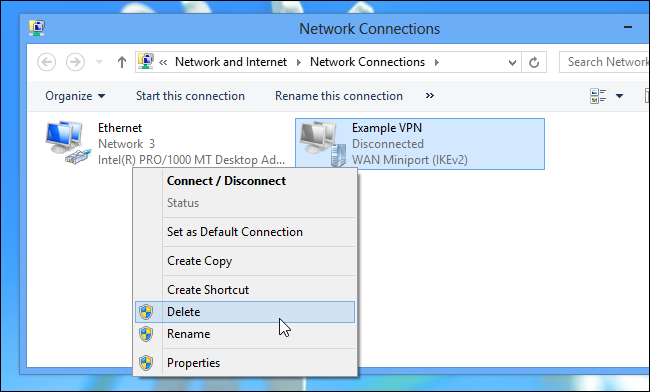
 - If you want to delete an existing VPN connection, open Windows Search box. Search for “Network Connections.” Right click on an existing VPN Asia Windows connection, then choose “Delete”
Windows 8 and 8.1
- Press “Windows” key at your keyboard and type “virtual private network.” Next, choose “Settings” and select “Set up a virtual private network (VPN) connection.”
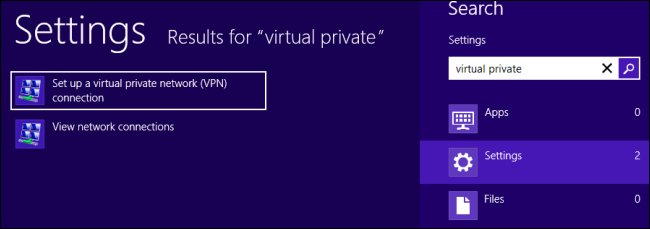 Browse to Windows 8 virtual private network menu
 - A new VPN connection window will appear on your desktop. Provide your VPN details, including server address and VPN name.
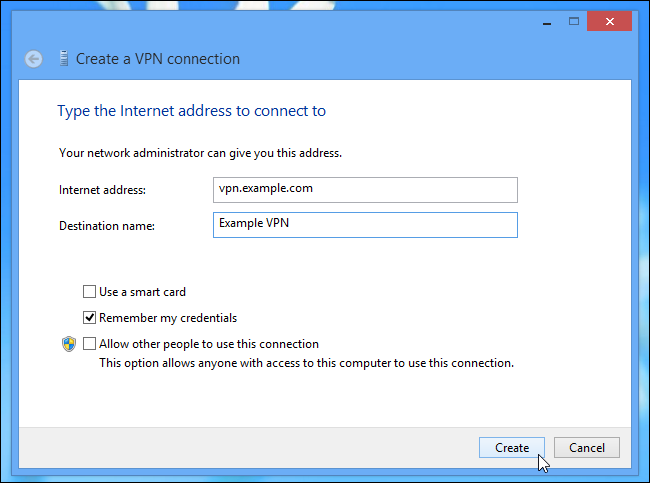 Provide your VPN details
 - Next, a “Networks” panel will appear. Please choose the VPN you recently added and click/tap “Connect.”
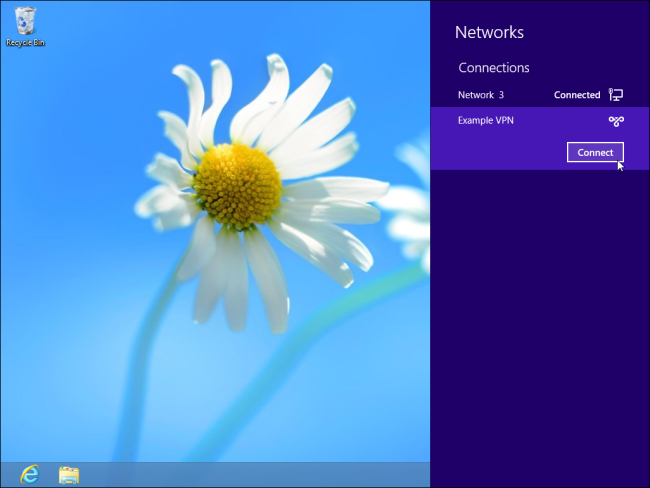 Choose connect to connect to our VPN Asia server
 - Now, please provide your account credentials. You can gain this information from emails we sent you. Please make sure you provided the right username and password.
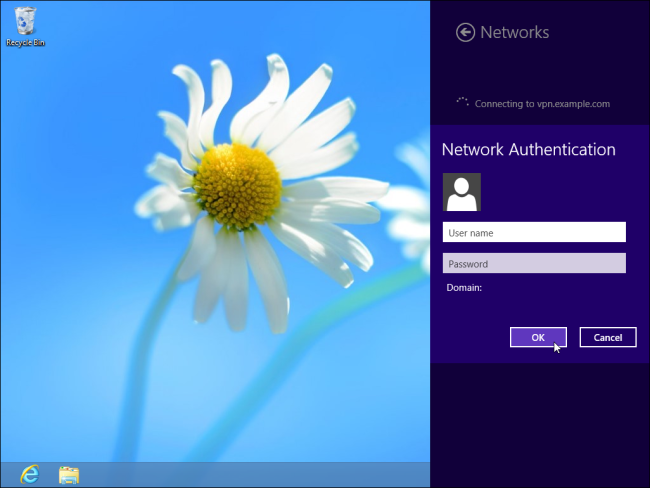 Provide your VPN Asia account credentials
 - If you need to access the “Network” panel, press Windows + C from your keyboard to open the charm bar. Choose “Settings” and click/tap “Network.” Whenever you want to disconnect from a VPN Asia Windows, browse to the “Network” pane and choose “Disconnect.”
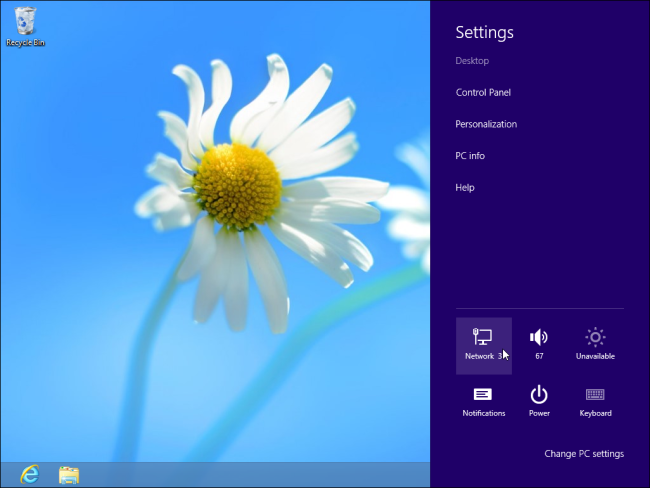 How to access your VPN Asia connection panel
 - If you want to remove an existing VPN connection, press Windows + F button from your keyword and type “View Network Connections.” Next, browse to the “Settings” category and choose “View network connections.” Right click to the VPN connection you want to delete and choose “Delete.”
 How to remove your existing VPN Asia configuration
Windows 10
- Log on as administrator
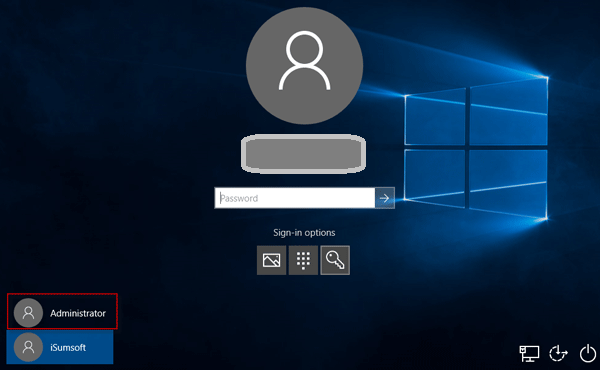 Log on as Windows 10 administrator
 - Head to the bottom-left corner on your screen and click/tap the Start button
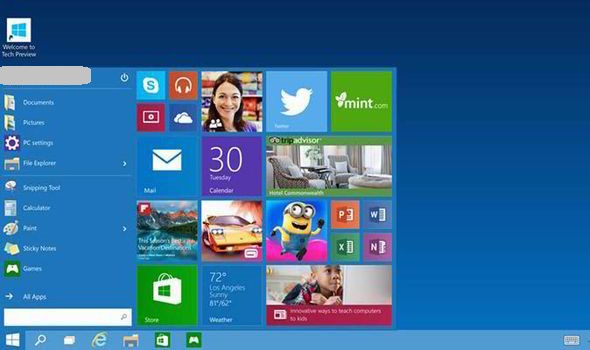 Browse your start menu and choose Settings
 - Head to the Star menu left section and choose Settings.
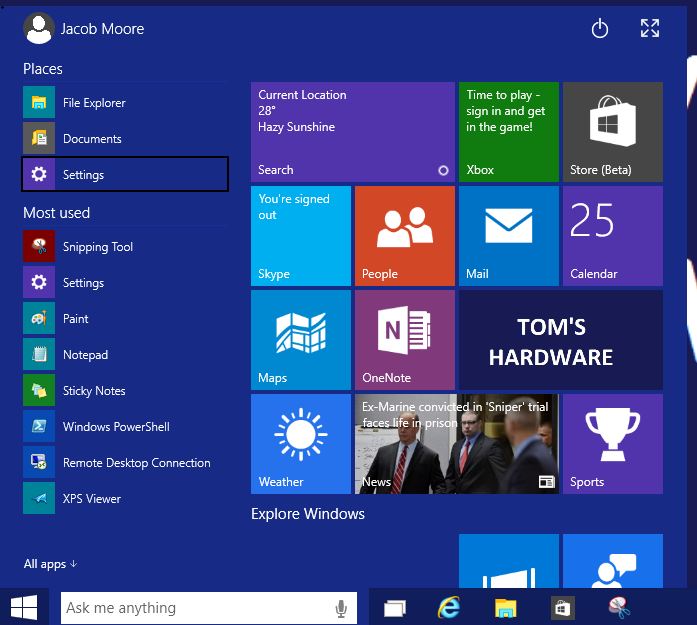 Choose Settings
 - Once the “Settings” window appeared, choose “Network & Internet” option.
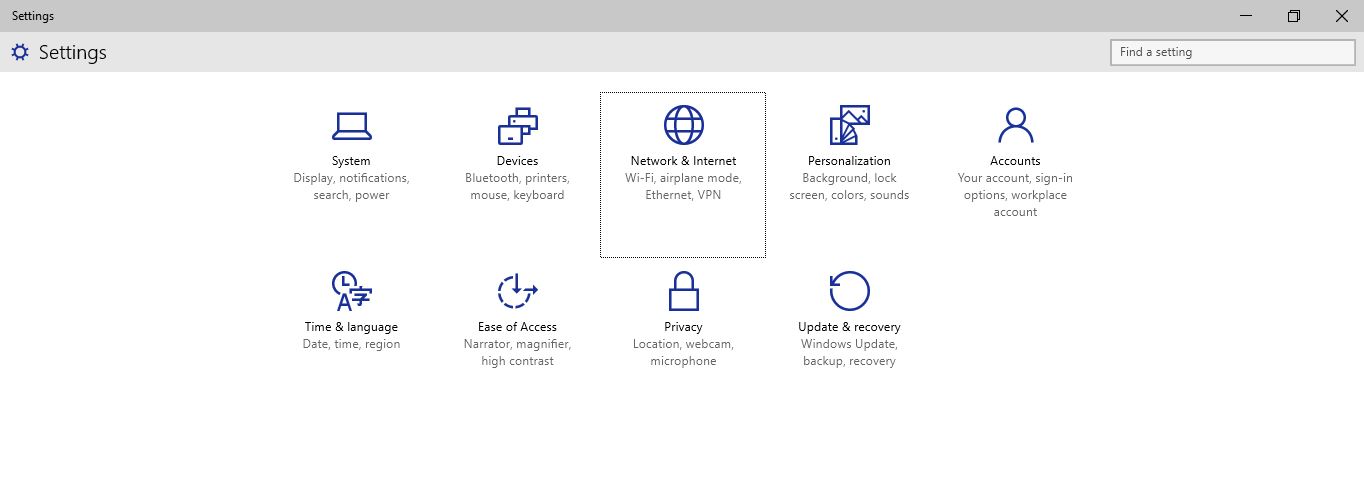 Windows 10 Settings window
 - Head to the left panel and choose “VPN“.
- At the right section, click/tap the “+” icon to add a new VPN Asia Windows connection.
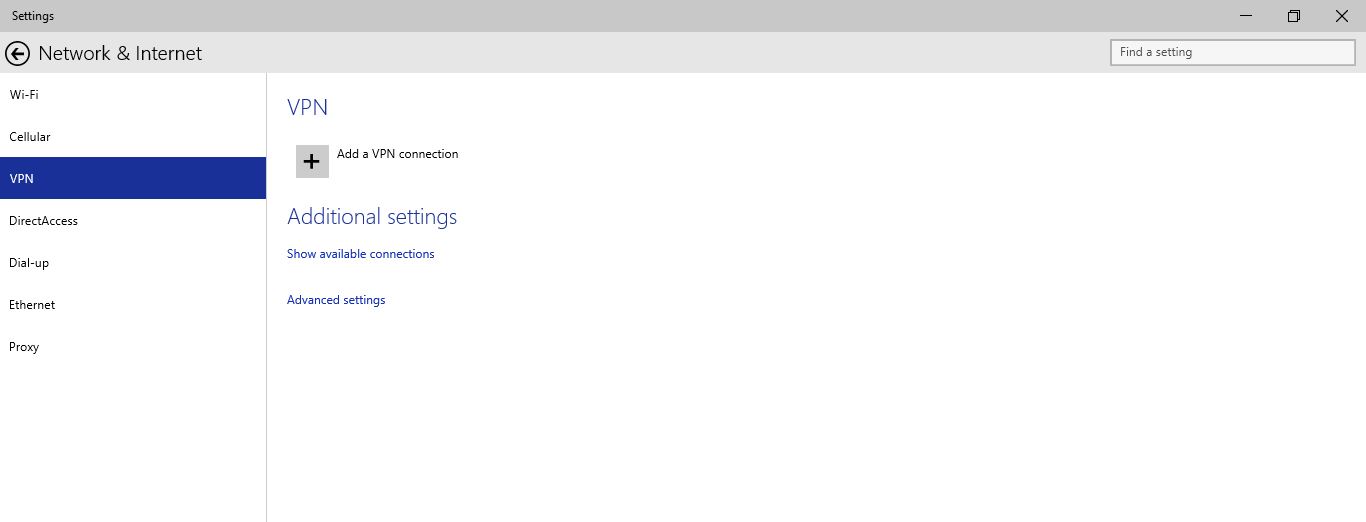 Create new VPN connection in Windows 10
 - An “Add a VPN Connection” windows will appear. Please provide all necessary details.
- If you are not in public network, select “Remember my sign-in info,” then click/tap “Save.” Otherwise, keep the box unchecked.
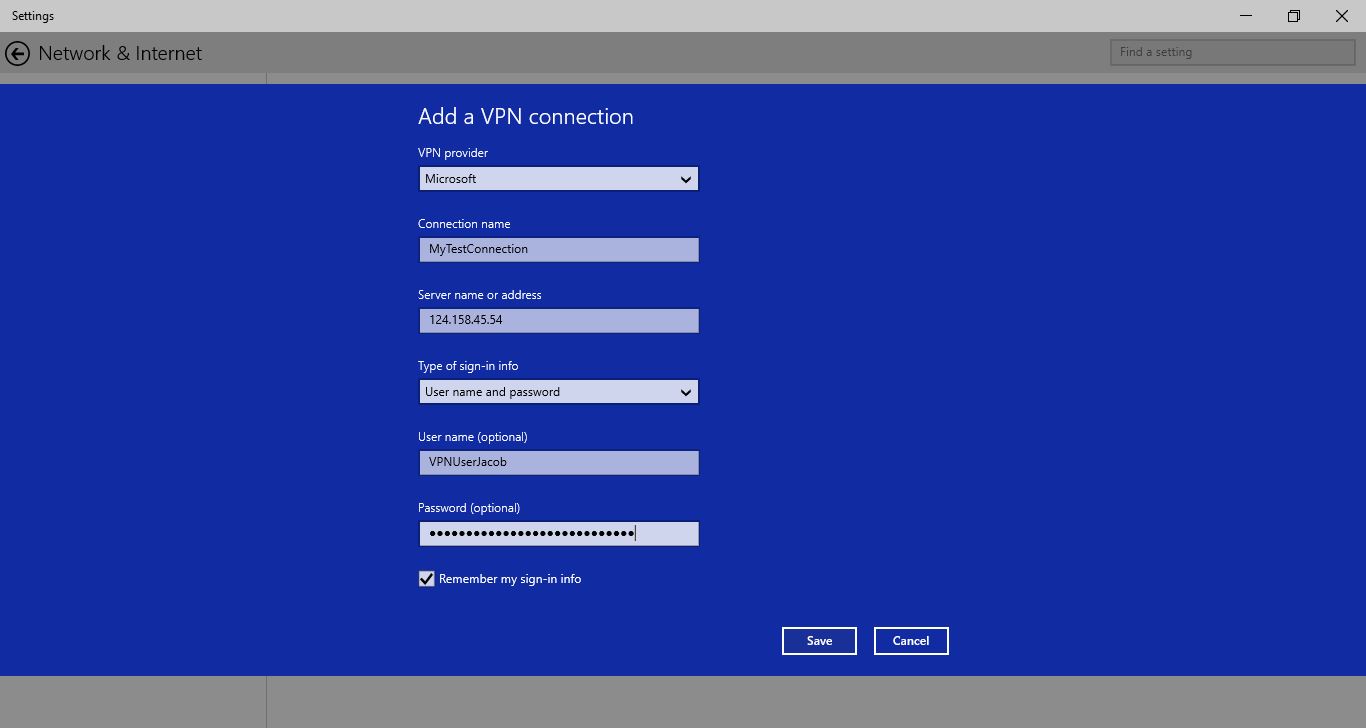 Make sure you have filled all the fields correctly
 - Windows 10 will create the VPN connection. Once done, head back to “Network & Internet” window and choose “VPN.” Next, select your new VPN Asia Windows connection.
- A list of options will appear. Each of them will help you configure your VPN Asia connection. Choose “Connect” to connect to our server, “Forget” to remove all the configuration details, or “Delete” to remove a specific VPN connection. You can also change your VPN configuration, by right clicking it and choose “Properties.”
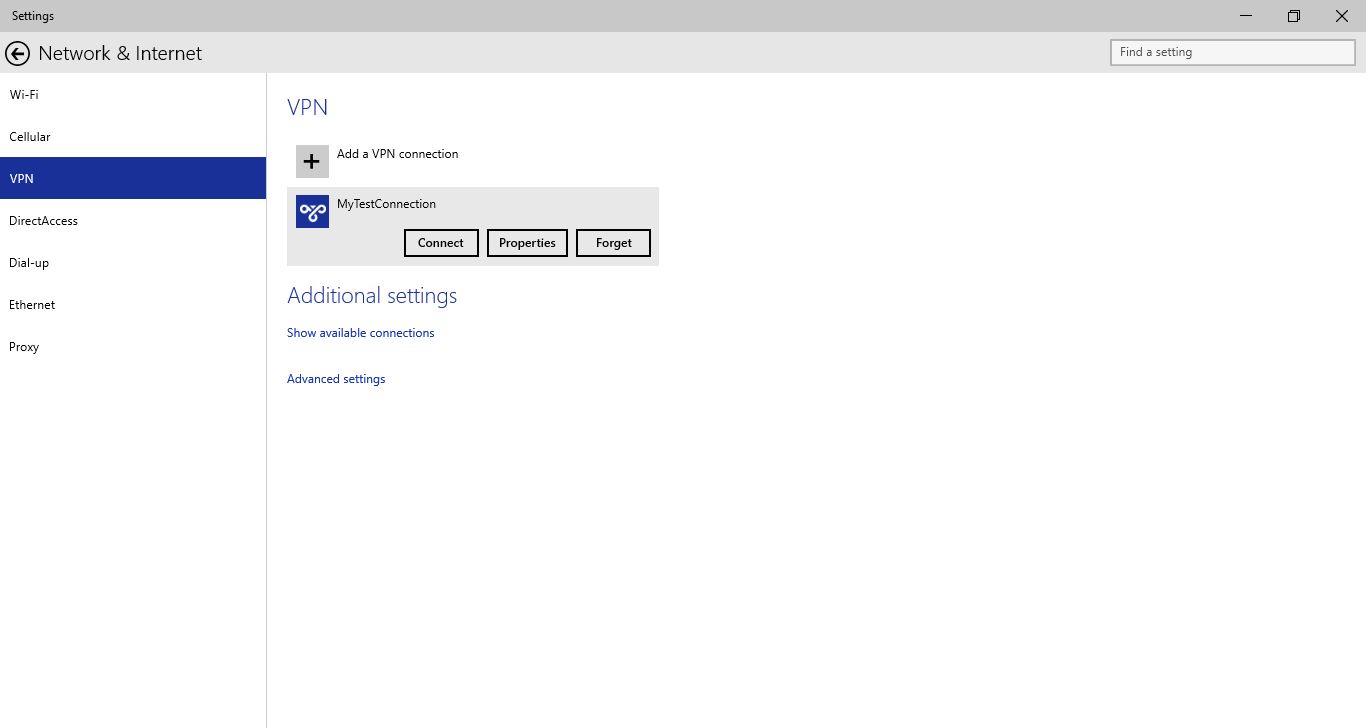 Configure your VPN
Mac
- Click your Apple menu and choose “System Preferences”. Next, choose Network. You can also choose the Wi-Fi icon from the menu bar. Once done, you can click ‘Open Network Preferences.”
- Head to the bottom left corner of your screen and click “+.” After a new interface box appeared, choose “VPN.” Provide details of how you would like to connect in the“VPN Type” box. At the “Service Name,” provide a name for your VPN.
- Click “Create”
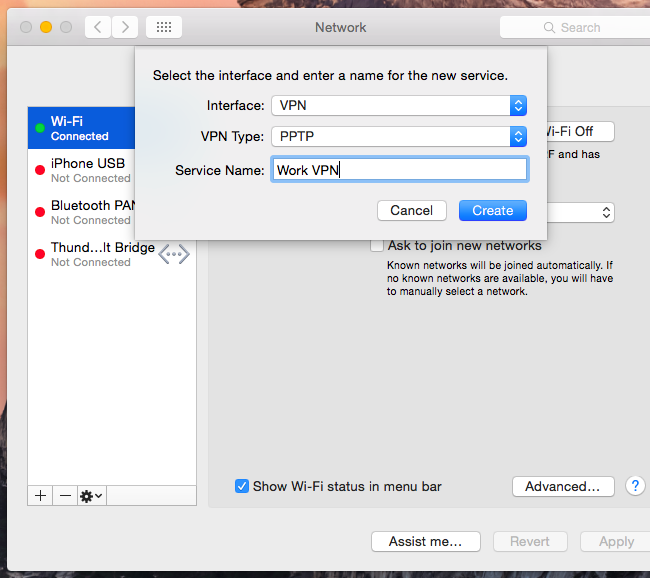 Provide your VPN connection details
 - Provide necessary VPN credentials, including server address, username, password, and other settings. If you need to make the connection more secure, you can opt for the “Authentication Settings.” There are 5 different authentication methods you can choose: password, RSA SecurID, certificate file, Kerberos, and CryptoCard.
- If you’d like to tweak your VPN connection even more, choose the “Advanced” button. You will have access to configure the VPN default settings. By default, you will automatically disconnected from our server when you log out or switch users.
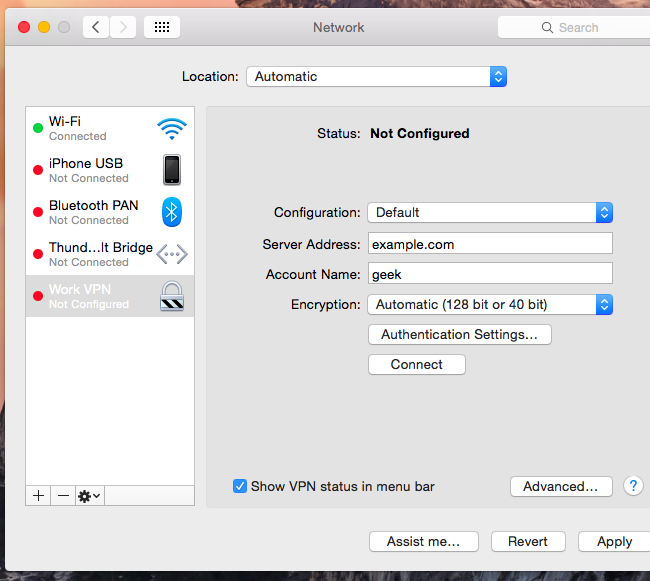 Configure how your Mac should connect to our VPN Asia server
 - Save your settings by clicking “Apply.” Before that, you can opt for an additional icon on your menu bar, which you can use to manage your VPN. Use the “Show VPN status in menu bar” option for this.
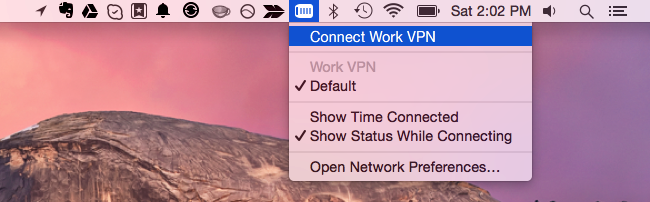 Monitor your VPN connection in Mac